Materials you need:

1) Determine how you want your cork board to look. I wanted mine to have a diagonal look & not the typical "checkered" horizontal design, so I knew that I would need to start with long strips. I measured my board from one corner to another like so...

And I cut the strips about 1 1/4" wide. Depending on how thick or thin you cut your strips you'll achieve your own unique look.
2) Now with your strips of cork start by lining them up side to side in one direction...

then begin to weave more strips, over & under, going the opposite direction...

Tips: Start from the middle of your project and make your weave as tight as possible. Leave at least an inch extra , you'll cut your weave later to the size of your board/ backing.
2) Finish weaving your board until you have a surface a little larger than the backing.
3) Glue. You have a choice of using craft glue or spray adhesive. I used both. Cover your backing evenly, and very carefully place your weaved surface onto the glue. It might go a little easier if you enlist someone to help you with this placement process. When everything is in place, use the heavy books to hold it down. Let the glue dry overnight.
4) With the glue is dry, your weaved surface should be securely attached to your backing. Cut sides evenly.
.jpg)
4) With my edges trimmed, I very carefully started to place my frame securely around my weaved cork board...

If you run into any problems or have any questions, let me know.
Thanks for stopping by & be sure to leave me a comment so I know you visited!
shen
- cork sheets (depending on how large your corkboard is, you may need multiple rolls, for my project I used two)
- frame, prepared to your liking
- scissor and/ or craft knife
- craft glue/ spray adhesive
- cardboard or old corkboard (you want this peice to be thick enough so that you aren't poking completely through & hitting your wall, or it defeats the purpose, and you'll have a ton of wholes when you decide to take your board down)
- cutting mat & rulers
- heavy books, like dictionaries/ phone books, etc.
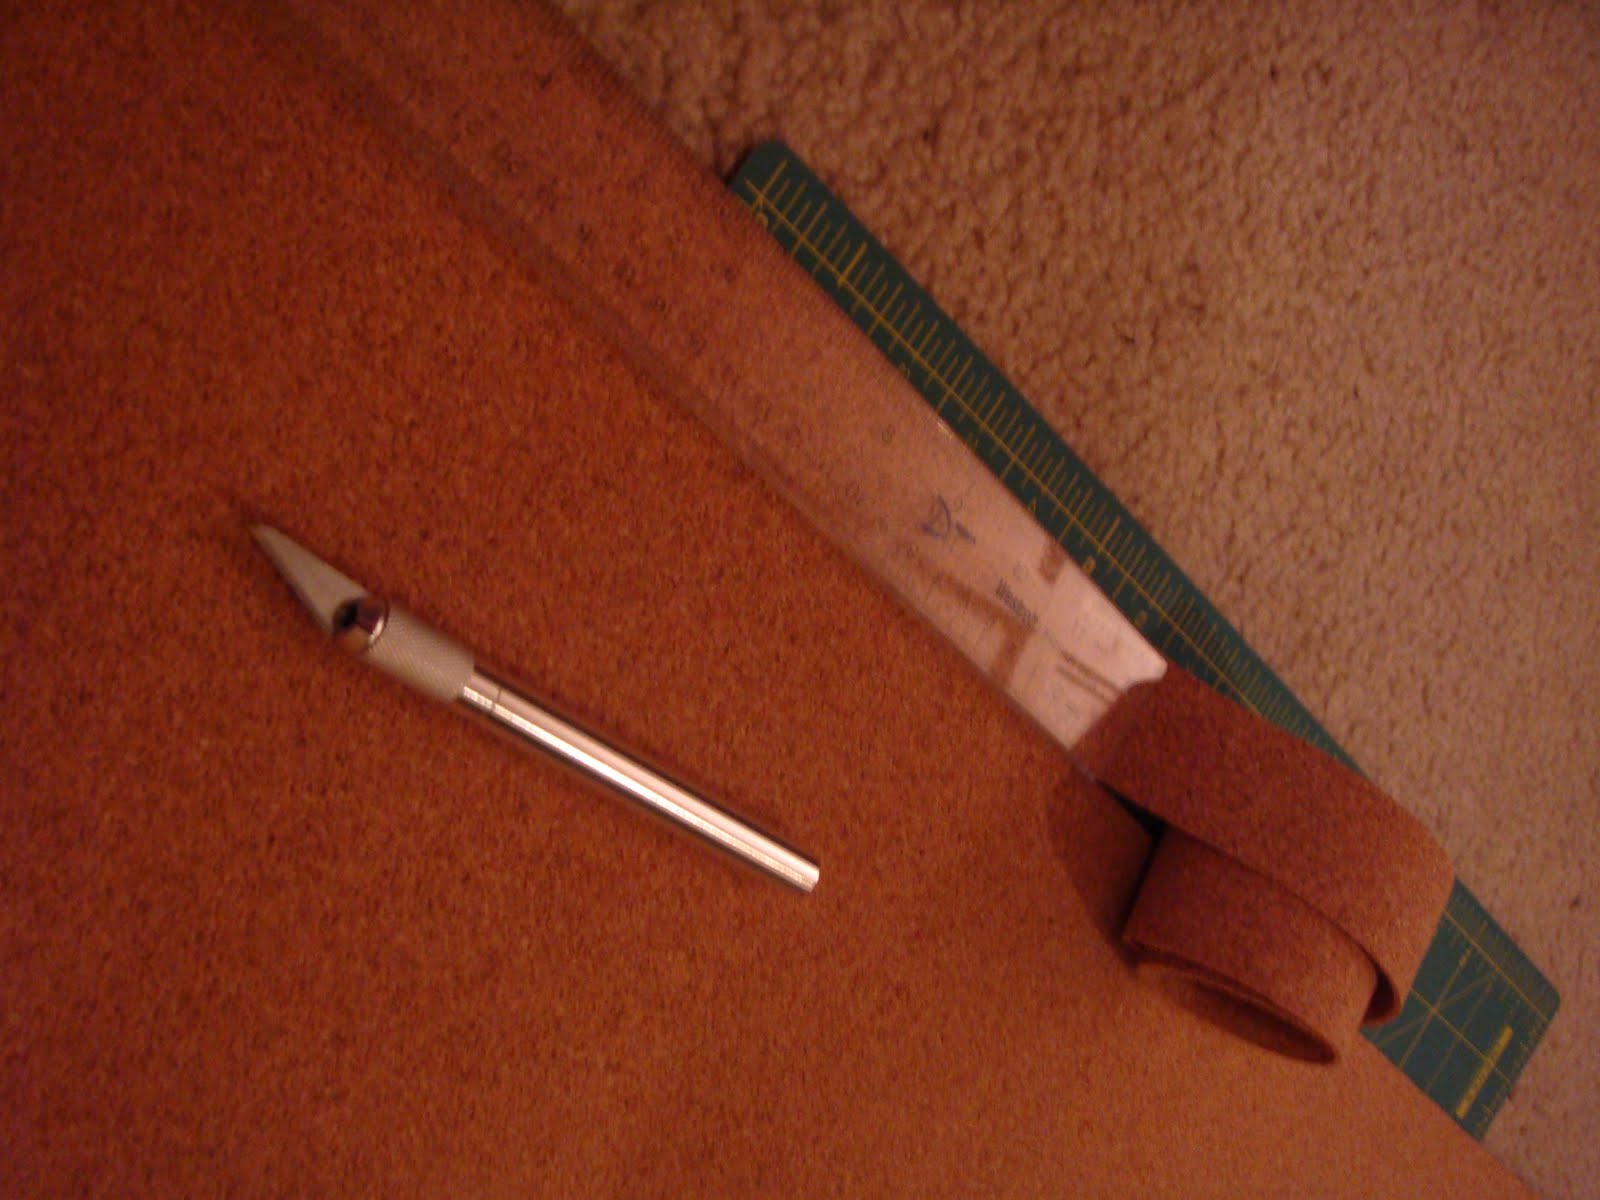
1) Determine how you want your cork board to look. I wanted mine to have a diagonal look & not the typical "checkered" horizontal design, so I knew that I would need to start with long strips. I measured my board from one corner to another like so...

And I cut the strips about 1 1/4" wide. Depending on how thick or thin you cut your strips you'll achieve your own unique look.
2) Now with your strips of cork start by lining them up side to side in one direction...

then begin to weave more strips, over & under, going the opposite direction...

Tips: Start from the middle of your project and make your weave as tight as possible. Leave at least an inch extra , you'll cut your weave later to the size of your board/ backing.
2) Finish weaving your board until you have a surface a little larger than the backing.
3) Glue. You have a choice of using craft glue or spray adhesive. I used both. Cover your backing evenly, and very carefully place your weaved surface onto the glue. It might go a little easier if you enlist someone to help you with this placement process. When everything is in place, use the heavy books to hold it down. Let the glue dry overnight.
4) With the glue is dry, your weaved surface should be securely attached to your backing. Cut sides evenly.
.jpg)
In this pic, I was still waiting for glue to dry. I held it down with thumbtacks while I was cutting.
4) With my edges trimmed, I very carefully started to place my frame securely around my weaved cork board...

If you run into any problems or have any questions, let me know.
Thanks for stopping by & be sure to leave me a comment so I know you visited!
shen
I love this idea. It will go great with my baseball themed office. Where did you get your cork sheets at and how much were in the rolls?
ReplyDelete