Hi there! Welcome to my GIRLY SPAZMS. I am most productive when I'm about to lose it. Easily distracted and daydreaming, I fight my way through the day just so I have moments like these. Please visit often as I am updating and adding new things when time allows . Feel free to drop me a line. Say hi, leave comments, suggestions, feedback & your experiences . Thanks for visiting my crafty blog & be sure to check out my etsy shop too.
Showing posts with label DIY. Show all posts

10/7/12

Simple. Quick. How to. Stamp on washi!!!

This was actually done in less than five minutes before I headed to the gym for my morning workout.

Typing this out is probably taking a lot more effort, but the results were so awesome I had to share...

Things you'll need:

  • Your washi tape
  • Acetate better known as transparency sheets (great deals on eBay btw)
  • Your stamp
  • Your ink
The set up
  1. Lay out your tape strips either vertical or horizontal, whatever you prefer on your transparency. (I tried reg paper but it tore up the paper pretty good)
  2. Ink your stamp
  3. Press firmly but not too much or you'll smear your design.
  4. Hold down sheet of transparency as you lift stamp directly up & off.
  5. Let ink dry
  6. When dry move strips of washi to clean transparency.
Silver spiderwebs on plain back washi

Sit back. Admire & use...


9/26/12

QUICK Washi tape holder tutorial...

We collected our supplies at Michaels & Lowes …

  • 1-  blank wooden sign (normally used for a decorative wall hanging)
Pick whatever shape & size you prefer,  but make sure it’s a sturdy thick piece because this will be your base to your washi tape holder and you don’t want it toppling over.
  • 1 – 1 inch thick dowel. I’m assuming you’re making a 6 stack one like mine in the picture so with that said, I got a 36” long dowel.
  •  A drill
  • A 1 inch hole saw
  • Wood glue
  • A hack saw
  • Paint if you prefer.
  • Felt (only if you want a  full felt bottom)  OR You could put little self-adhesive rubber/felt circles/ squares to act as feet on the bottom too. This will help protect the surface you place your washi tape display.  
I used a colored stain from Lowes because I wanted the wood grain to show through a lot more than seeing that layer of paint. I wasn’t very happy with the results, so I think if I make another wood project like this, I’ll be buying the other teal colored wood stain or maybe experiment with some food coloring & then seal it with acrylic after.  I’ll be sure to update if I try this out.

We finished this project in one evening. It took me a couple days to finish the painting portion. I put about 3 coats on & then a clear acrylic after. The only reason I did so many coats is just because it wasn't turning out like I was hoping. 


Determine where you would like your poles to go & mark center.
Tony used my actual washi tapes to figure out  a "nice" spacing to avoid an overcrowding look.
Drill down to 1/2 an inch or 3/4. Try not to drill straight through the base.  

Cut the dowel into six  --6 inch segments. 
I got a little impatient & tried out the wood stain while the dowels were drying. 

Use wood glue & place the dowels into the drilled holes.

Paint. Dry. Use.


Unfortunately, I've already ran out of room & have had to resort to a cheapy container from Daiso, however, if you can practice a little more self control unlike me. This holder should suffice. 


But I still have this one & love love love it! 

Let me know if you have any questions.

shen

5/30/12

End of the school year thank you treat...

It's hard to believe but the kiddos are all done with school already, and I think they had an amazing year of learning. Teachers can be so amazing at what they do and how they influence the children they have in their class.

Hopefully they like our lil gift of appreciation.

I needed something easy for the kids to carry around with them, pass them out to each of their teachers as they went from class to class, AND not worry about spillage. Then I saw a great suggestion on Pinterest. Clear party cups & cellophane wrap. I made it even easier on me, and found cellophane bags that the cups would fit in...


clear cups & cellophane baggies


I made pineapple cupcakes w/ vanilla pineapple buttercream frosting. Which I have to thank my BFF, Linda, for giving me a basic recipe during a state of panic. Panic? I had gone onto Martha Stewart website, and after reading the bad reviews of her recipes, had no idea what to do with myself.


I let them cool & popped them into the cups..


Then I frosted them...


I hope that I will be able to duplicate this recipe of frosting again.
If you look closely, you can see the little bits of pineapple in it.

This frosting came out amazing. I had to kind of wing it, at one point I was going to throw it all out, but I didn't give up, and the results were amazing!


Not done yet! I even caramelized some pineapple...


Surprisingly easy (for me at least)
Brown sugar, pineapple, stir till golden brown.. That's it!
Just a little dab..

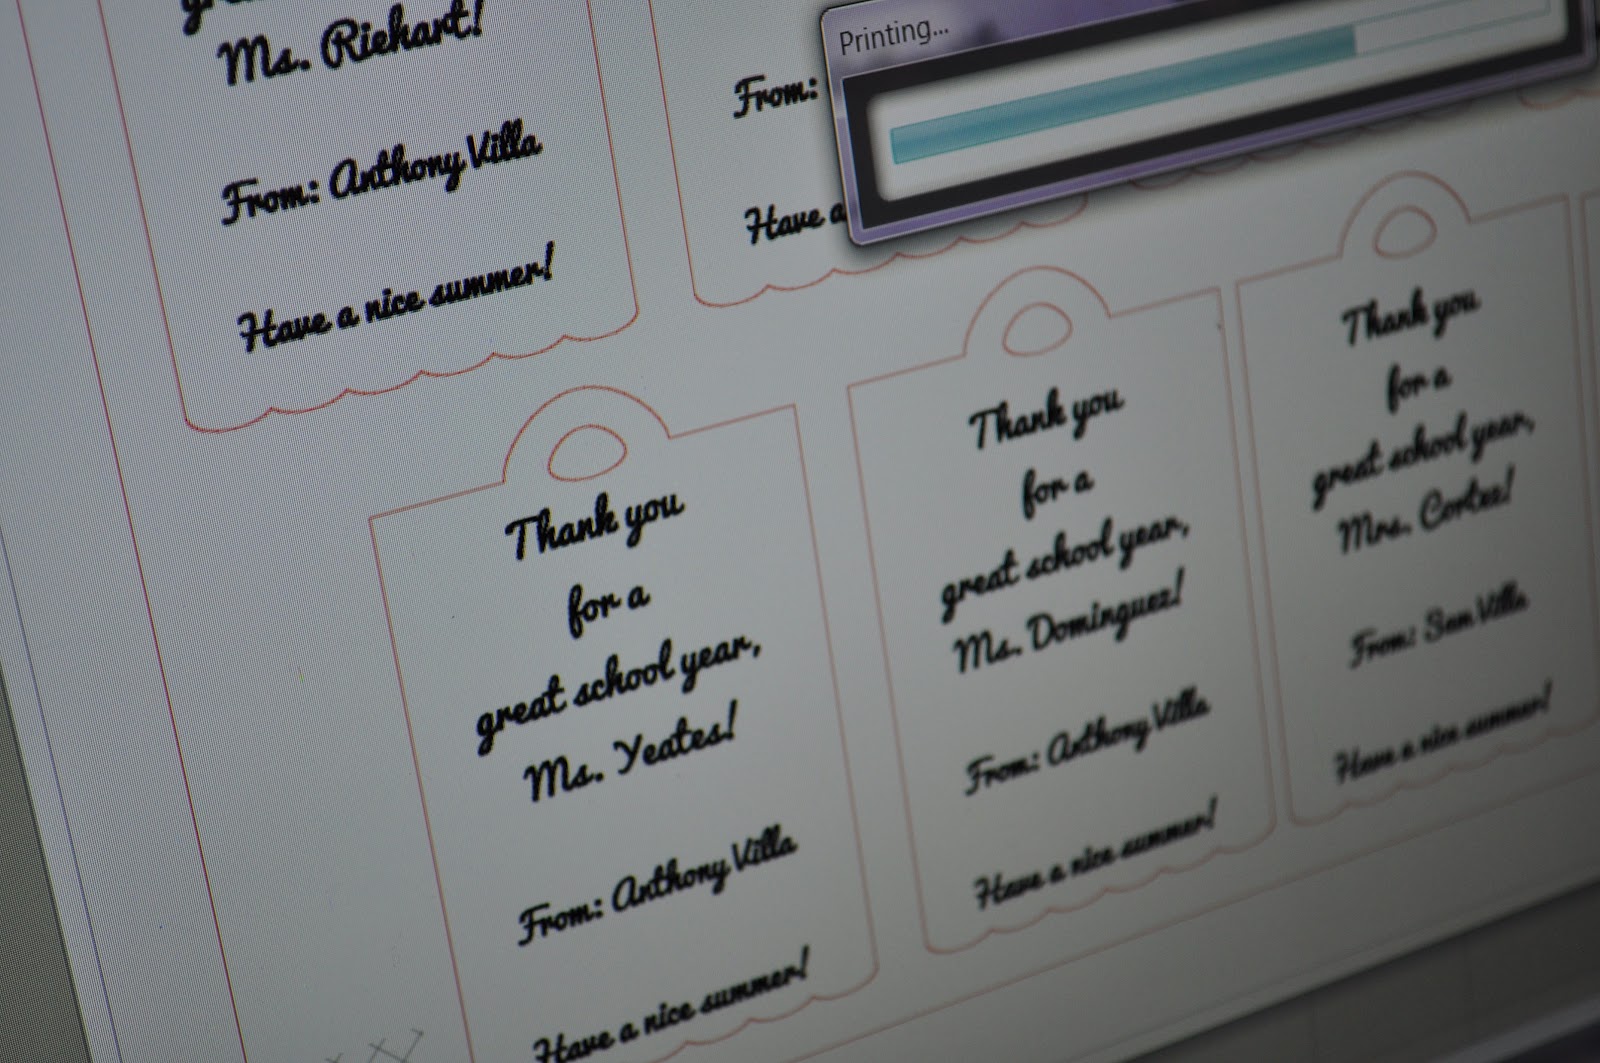
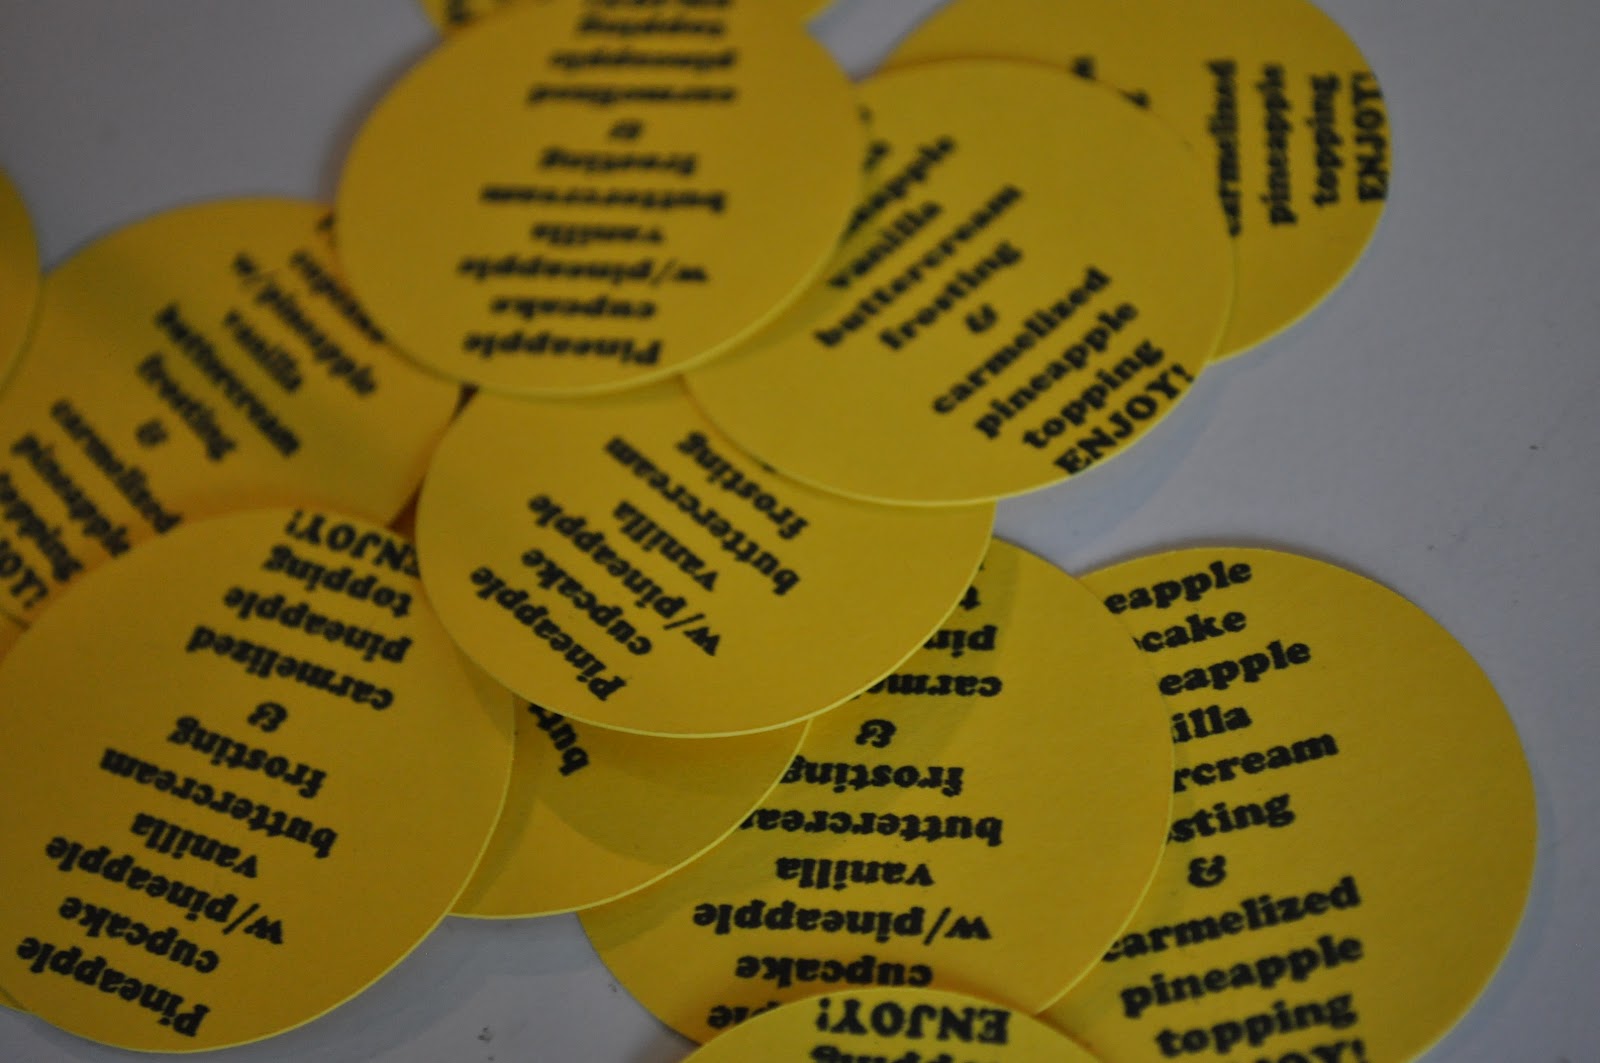
Because I always like to know what I'm being offered, I made labels with my wonderful silhouette.... (My next tutorial will be how to do this. I'm hoping that I can convince other people to get the silhouette.)


Design..

Print...

Load silhouette & cut...
sprayed them w/ spray glue, popped them onto the bottom.

The kiddos helped get them into the bags..
made tags. design, print, cut... again

fabric ribbon.. It's just prettier..

Tie
Ready to go!


YAY! Let the summer fun begin!


shen