Wow! It’s been such a long time since my last entry… So I
figured I’d do a quick update.
The etsy shop has been on a hiatus, as I finished up a big
project. Finally done! My little sister is turning 18 & she wanted these cute little exploding box invitations. She didn't even want to look at any other option after she saw these.
After researching and help from the BFF these little suckers came to life, piece by agonizing piece.

After researching and help from the BFF these little suckers came to life, piece by agonizing piece.

 |
| little paper cakes inside "exploding boxes" |
 |
| Invites all boxed up & ready to go. Thank goodness I have a huge dining table. |
I’ve been able to squeeze in little projects here and there
in between doing this big project. The etsy shop had a "soft" reopening as I started to post up new items.
I was able to do a first giveaway on the facebook page, plus
a few “appreciation” gift bags for people who were actively sharing my page
with their friends. That was a lot of fun!
I did a type of “I Spy” photo game and the first two to
respond won some fun rainbow toe socks.
 |
Quick back story: I needed measurement for the perfect fit. Requested customer send me pictures and she did this... Do you see her cute little toes? Can you see where/ what she's standing on????
Had me laughing so hard!
|
 |
| Total coincidence.. She wore rainbow socks to show me the after... I had already gotten rainbow socks for the winners a few days before. What can I say... Great minds think a like! |
If you want to keep updated please “like” the NEW facebook page www.facebook.com/girlyspazms I'm planning on having a new giveaway again soon!
The old one was just a "like page" and it was ridiculous to get to... it was like facebook.com/somebunchofgibberish&numbersyadayada....so this new page is a lot more simple... www.facebook.com/girlyspazms
I've picked up two new obsessions.... WASHI TAPE!!!! and the hubby made me a nice organizer for it. I'll have to put up a short fast tutorial for it when I've got a minute. I love it! Only problem is I already ran out of room, and had to resort to a container from Daiso.
 |
| This is the current stash as of today... 9-25-12.. I have 7 rolls on their way to me.. Shut up don't judge me! okay judge me. I don't care. ;D I LOVE WASHI TAPE!!!!! |
The other obsession... CLEAR STAMPS. You know the kind that you can keep stored away in neat little pages, and then when needed mount them on an acrylic block... Yeah. A little obsessed with those too.
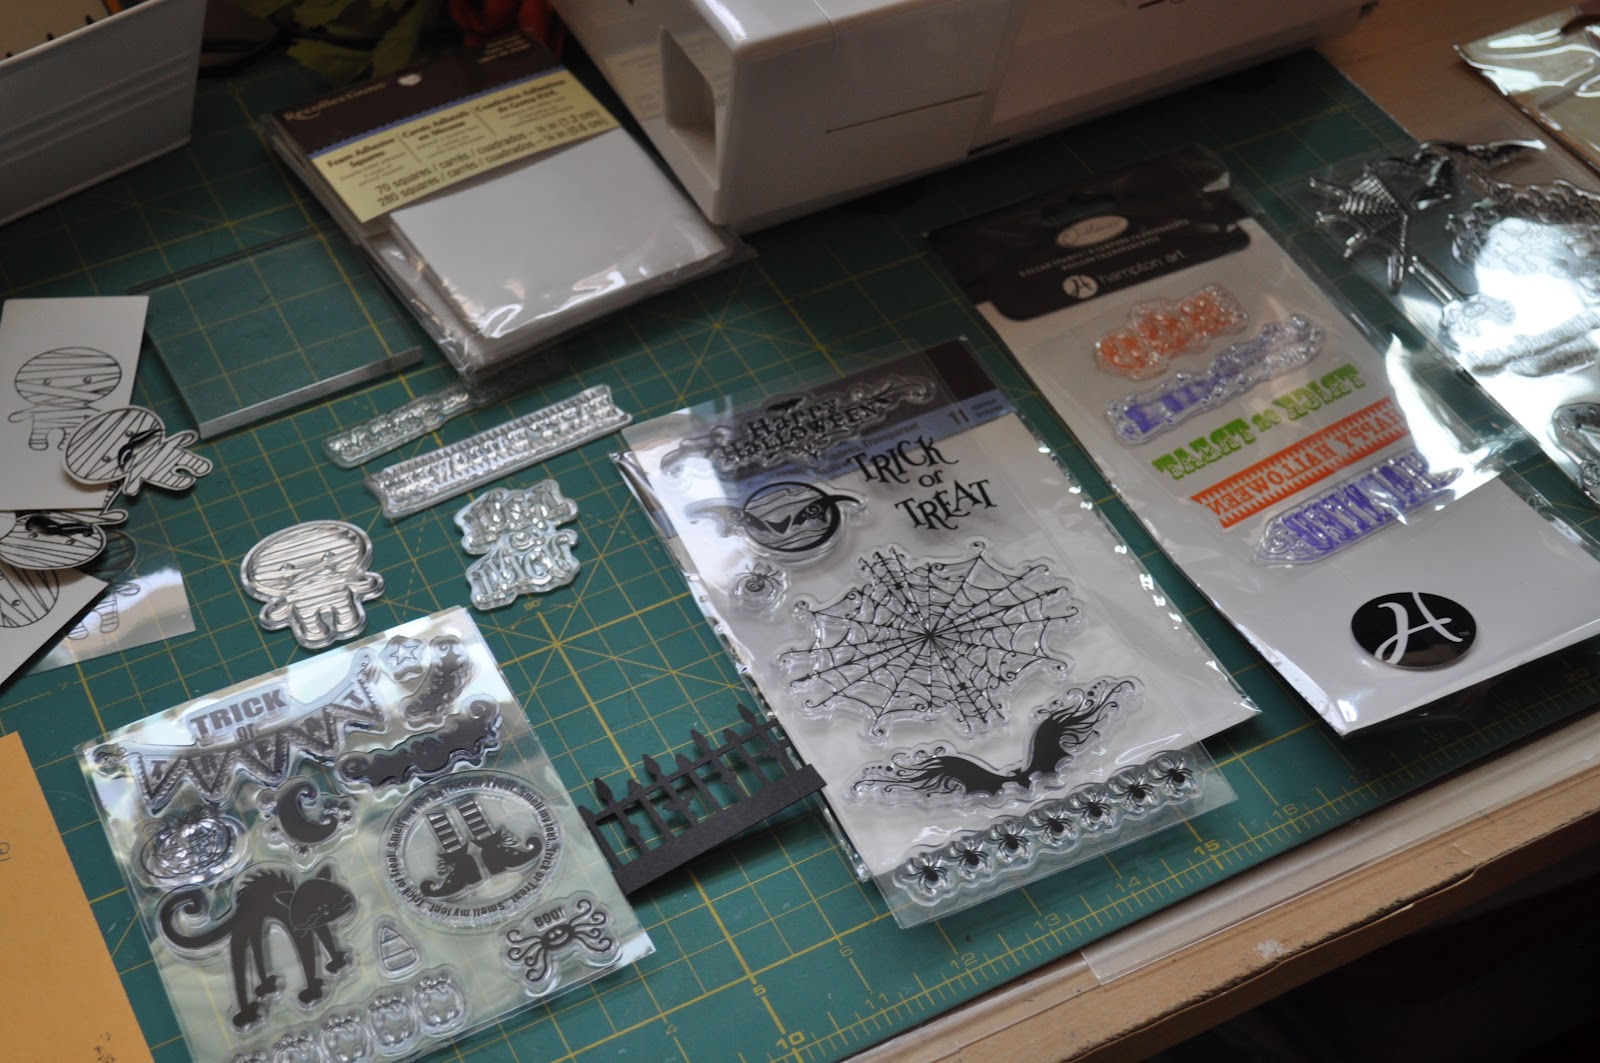 |
| Just a quick view of some sets of clear stamps I have. |
I have so many ideas that I've written down. I started making cards which was one of the things I really wanted to finally dive into.
And finally October is just around the corner, which means I can break out the halloween decor again!!! yay!!!!!!
Halloween my most favorite holiday aside from Valentine's is coming again! I made the mistake of going on a "quick" Michael's run when they first put out the new things for Halloween, and boy! was my head spinning. "I JUST CAME IN TO GET SPRAY GLUE!!!! DAMN YOU MICHAELS!!!!"
If you don't remember last years video... Here you go!
 |
| Instagram shot of my lil halloween lunch cards I made. |
 |
| All packaged w/ envelopes made to size. |
And finally October is just around the corner, which means I can break out the halloween decor again!!! yay!!!!!!
Halloween my most favorite holiday aside from Valentine's is coming again! I made the mistake of going on a "quick" Michael's run when they first put out the new things for Halloween, and boy! was my head spinning. "I JUST CAME IN TO GET SPRAY GLUE!!!! DAMN YOU MICHAELS!!!!"
If you don't remember last years video... Here you go!
And last to share.... Family art project coming soon..... Dia de los muertos sugar skull decorating..

Thanks for reading! What have you been up to?
shen


