Hi there! Welcome to my GIRLY SPAZMS. I am most productive when I'm about to lose it. Easily distracted and daydreaming, I fight my way through the day just so I have moments like these. Please visit often as I am updating and adding new things when time allows . Feel free to drop me a line. Say hi, leave comments, suggestions, feedback & your experiences . Thanks for visiting my crafty blog & be sure to check out my etsy shop too.

6/16/10

My attempt to make a beach sign...

I recently redecorated a wall in my house, and I'm hoping that I'll have an entry up soon to show off what I've done. In the meantime, here is my attempt to make my very own beach sign decor...

I've had a stack of these pictures in the garage for a while. I bought them at Home Goods...


I actually had to visit a few lunchtime visits over at the Mercado shopping center by my work (which reminds me, I've got to go again!)  but got lucky each time. 70 cents?!?! 
WIN! 

Front of sign says: He who plants a garden, plants happiness.

Moving on.....


I:
1) Taped off the ends so I would have a clean edge.I wanted to keep the solid black "frame".


2) Played with the word "BEACH" on MS word. (After a while, playing w/ fonts, "beach" started playing mind games with me, and I actually had to do a spell check because it looked so wrong!) Printed it out & made sure the size fit "just right" on the sign.


Then I taped the printed letters onto contact paper. I cut around each letter carefully using a exacto knife to get the small details in the letter. Make sure you secure the letters onto the contact paper as needed, to retain the shape of the letters. If you have a cricut/ die cut machine, you could also use a cricut to cut out the letters for you on the contact paper if you want to skip this part. I actually got this contact paper use idea from this "how to make subway art" blog .... 


3) I painted the sign with extra house paint I had left over from an old project... I loved the color, and had to use it over again. It's Ralph Lauren's Iced Mint in a satin finish. 


I let the paint dry, and then I peeled the backing off the contact paper and stuck my letters on... Use a ruler to make sure your letters a straight... Trust me.  You'll soon see why..


Contact letters on.. and ready to go.


4) Then to get that white-washed look, I took some cream acrylic paint and a paint brush, and a paper towel. Dipped the brush in paint, then wiped the excess on the paper towel and dragged the semi-wet brush across the surface... Later I took the paper towel and dabbed and wiped areas where the cream color seemed "too thick". It's important that the color behind the white wash show through... 

See the streaking action?!?! 


5) After the paint dried, I peeled off the contact paper. It came off very easily...


I think I got a little too excited about finishing, and rushed this project... My sign is a little crooked. Like I said use a ruler... But it was so fast & easy that I will be correcting it over the weekend... 


Updated: June 20th. It really REALLY bugged me. I had to fix it....


I took this picture in the evening. I'll post a pic with natural sunlight as soon as I get a chance.


shen

5/30/10

Tutorial for weave cork board.

 Materials you need:

  • cork sheets (depending on how large your corkboard is, you may need multiple rolls, for my project I used two) 
  • frame, prepared to your liking
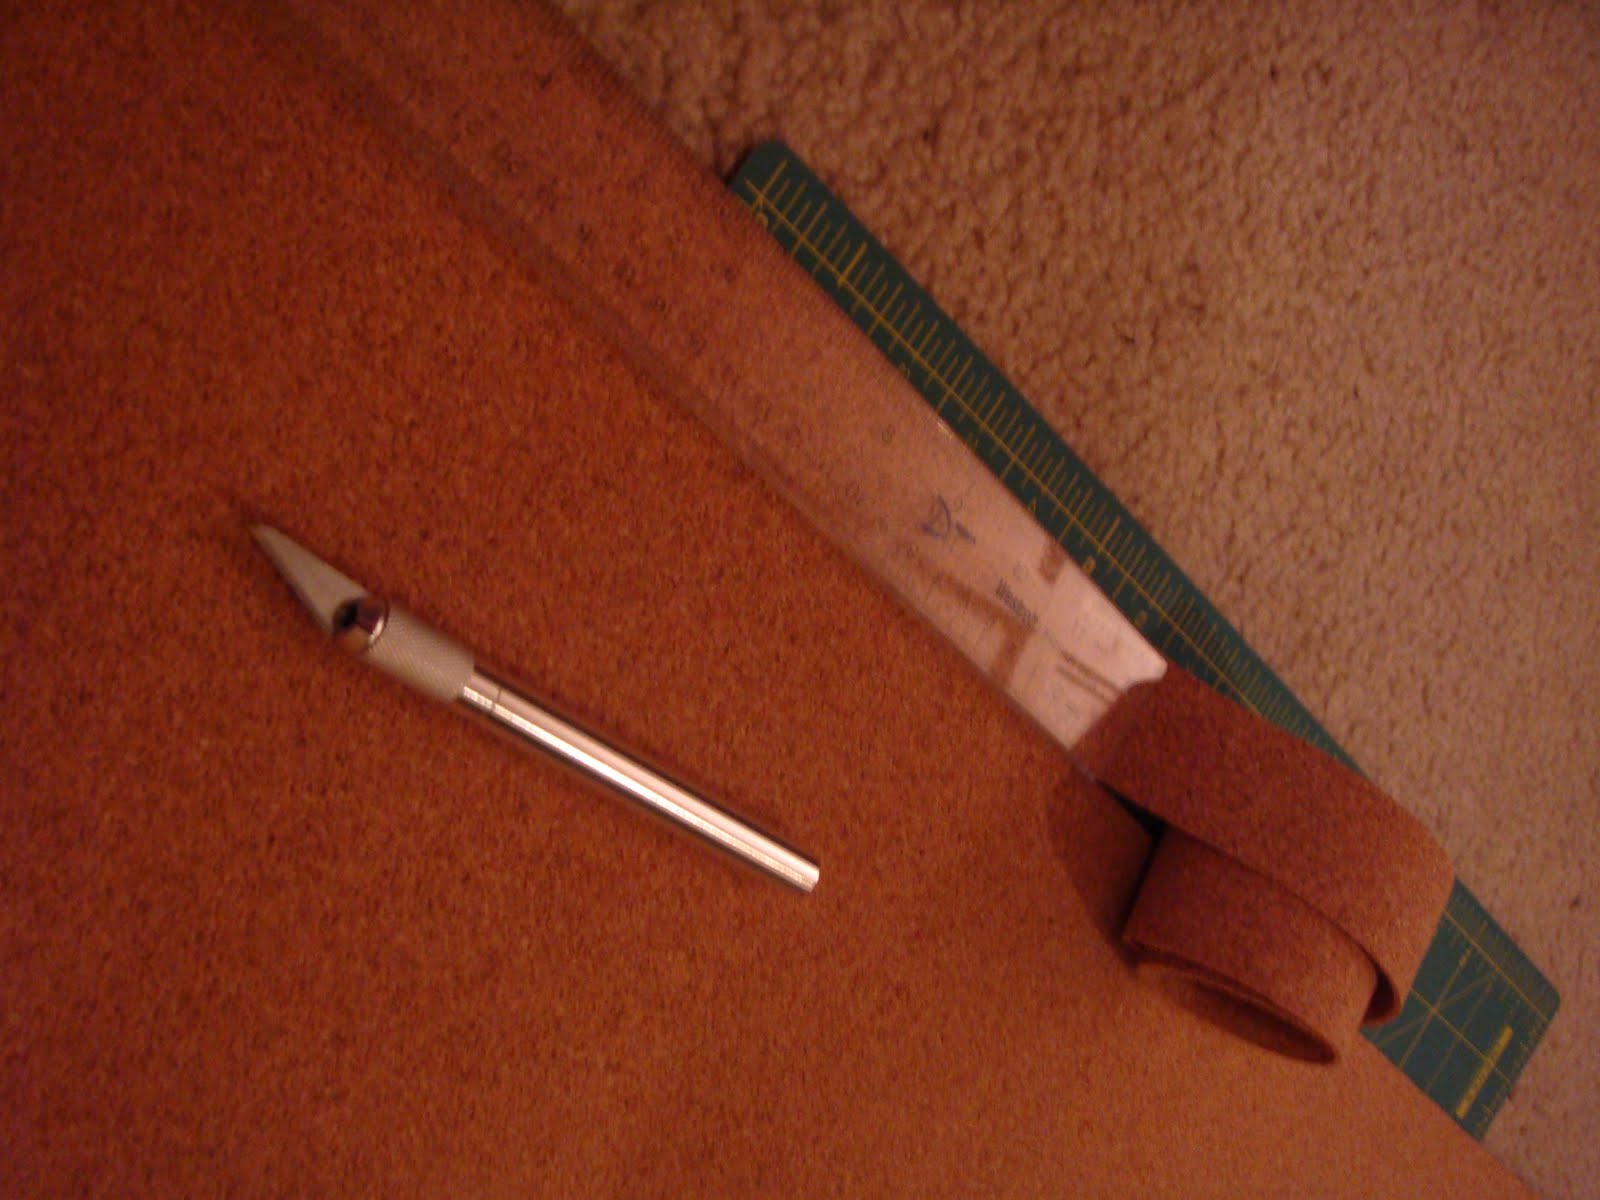
  • scissor and/ or craft knife
  • craft glue/ spray adhesive
  • cardboard or old corkboard (you want this peice to be thick enough so that you aren't poking completely through & hitting your wall, or it defeats the purpose, and you'll have a ton of wholes when you decide to take your board down)
  • cutting mat & rulers 
  • heavy books, like dictionaries/ phone books, etc.  


1) Determine how you want your cork board to look. I wanted mine to have a diagonal look & not the typical "checkered" horizontal design, so I knew that I would need to start with long strips. I measured my board from one corner to another like so...


And I cut the strips about 1 1/4" wide. Depending on how thick or thin you cut your strips you'll achieve your own unique look.

2) Now with your  strips of cork start by lining them up side to side in one direction...


then begin to weave more strips, over & under, going the opposite direction...


 Tips: Start from the middle of your project and make your weave as tight as possible. Leave at least an inch extra , you'll cut your weave later to the size of your board/ backing.


2) Finish weaving your board until you have a surface a little larger than the backing.

3) Glue. You have a choice of using craft glue or spray adhesive. I used both. Cover your backing evenly, and very carefully place your weaved surface onto the glue. It might go a little easier if you enlist someone to help you with this placement process. When everything is in place, use the heavy books to hold it down. Let the glue dry overnight.

4) With the glue is dry, your weaved surface should be securely attached to your backing. Cut sides evenly.

In this pic, I was still waiting for glue to dry. I held it down with thumbtacks while I was cutting. 

4) With my edges trimmed, I very carefully started to place my frame securely around my weaved cork board...


If you run into any problems or have any questions, let me know.

Thanks for stopping by & be sure to leave me a comment so I know you visited!


shen


Being bug friendly....

A few months ago our hippie & earth child (I say this jokingly, of course) Sam was over at her BFFs house. She noticed a bag of water with pennies, and asked them what it was for. They explained to her that it was to keep the flies away & she came home to share. We looked up a few sites online just to check out the theory...

http://www.waycooldogs.com/a-ziplock-bag-of-water-and-4-pennies-no-flies/

http://www.lifehacker.com.au/2009/07/repel-flies-with-a-bag-of-water/ 


What you need:
  • plastic bag, we used a zip lock
  • pennies (four per bag was the recipe)
  • water (tap is fine)
  • thumb tack, twine, tape ( to hang up the bag)

Being the long Memorial Weekend, we had the opportunity to finally try it out.


So the theory behind this method is that the reflection the water gives off confuses the flies because their "compound eyes".  They will then avoid the area.
I'm sure a few of the neighbors might have been confused too. Especially with a bag right above the entry way... Not exactly welcoming...

Anyways, this method is great if you are trying to stay earth friendly. It's kid-safe & pet safe.

Try it out. It works! We haven't had any flies in the house all day. 
My Sammie is such a smart cookie!  She just turned 13 & although you can't see it her shirt says, "Love our Earth"


Sam with "Beatles" cupcakes made by our wonderful family friend, Linda @ Baking Foodie. 

Hope all of you are having a wonderful Memorial Day weekend. Remember to take the time to honor the men & women who have passed serving our country. 

shen

5/23/10

easy upcycle jar project...

So I've had these huge kimchi jars (large enough to stick your fist in them) sitting & soaking on the kitchen counter for quite some time. I've wanted to re use them, but didn't know what for. Then I decided that I'd put them in my craft room, but the bright red top had to go... so I spray painted them white. And when I said "I" , I really meant that I did them this time, no help from the hubby & I must say I did a pretty impressive job.. 
I didn't want the red to show through, so white was the safe color for me.. 
Spray painted inside & out... Not to thick, or it will peel off the plastic..   
 

See not too bad right...

I did about 3 coats of very light spray painting just to cover up the red enough..

Then with some heavy duty jute cord from the local hardware store (In my case Lowes) & some craft glue.... 
I began from the side of the lid & worked my way to the middle of the lid...
It looks tidious, I know, but seriously it didnt take that long. May 10 minutes the most for each lid...  Then ... ! Beautiful! 


One of them now holds scraps of cork board from my recently completed cork board project...
The others... I'm sure I'll find something to put in them soon...
I love that I was able to reuse these containers... 

Now, with probably more than 100 feet left of jute...I wonder what else I can do this too! hee hee hee...  ::evil grin:: 

Thanks for looking, hope this inspires you to upcycle something wonderful!
shen