Hi there! Welcome to my GIRLY SPAZMS. I am most productive when I'm about to lose it. Easily distracted and daydreaming, I fight my way through the day just so I have moments like these. Please visit often as I am updating and adding new things when time allows . Feel free to drop me a line. Say hi, leave comments, suggestions, feedback & your experiences . Thanks for visiting my crafty blog & be sure to check out my etsy shop too.

5/30/12

End of the school year thank you treat...

It's hard to believe but the kiddos are all done with school already, and I think they had an amazing year of learning. Teachers can be so amazing at what they do and how they influence the children they have in their class.

Hopefully they like our lil gift of appreciation.

I needed something easy for the kids to carry around with them, pass them out to each of their teachers as they went from class to class, AND not worry about spillage. Then I saw a great suggestion on Pinterest. Clear party cups & cellophane wrap. I made it even easier on me, and found cellophane bags that the cups would fit in...


clear cups & cellophane baggies


I made pineapple cupcakes w/ vanilla pineapple buttercream frosting. Which I have to thank my BFF, Linda, for giving me a basic recipe during a state of panic. Panic? I had gone onto Martha Stewart website, and after reading the bad reviews of her recipes, had no idea what to do with myself.


I let them cool & popped them into the cups..


Then I frosted them...


I hope that I will be able to duplicate this recipe of frosting again.
If you look closely, you can see the little bits of pineapple in it.

This frosting came out amazing. I had to kind of wing it, at one point I was going to throw it all out, but I didn't give up, and the results were amazing!


Not done yet! I even caramelized some pineapple...


Surprisingly easy (for me at least)
Brown sugar, pineapple, stir till golden brown.. That's it!
Just a little dab..

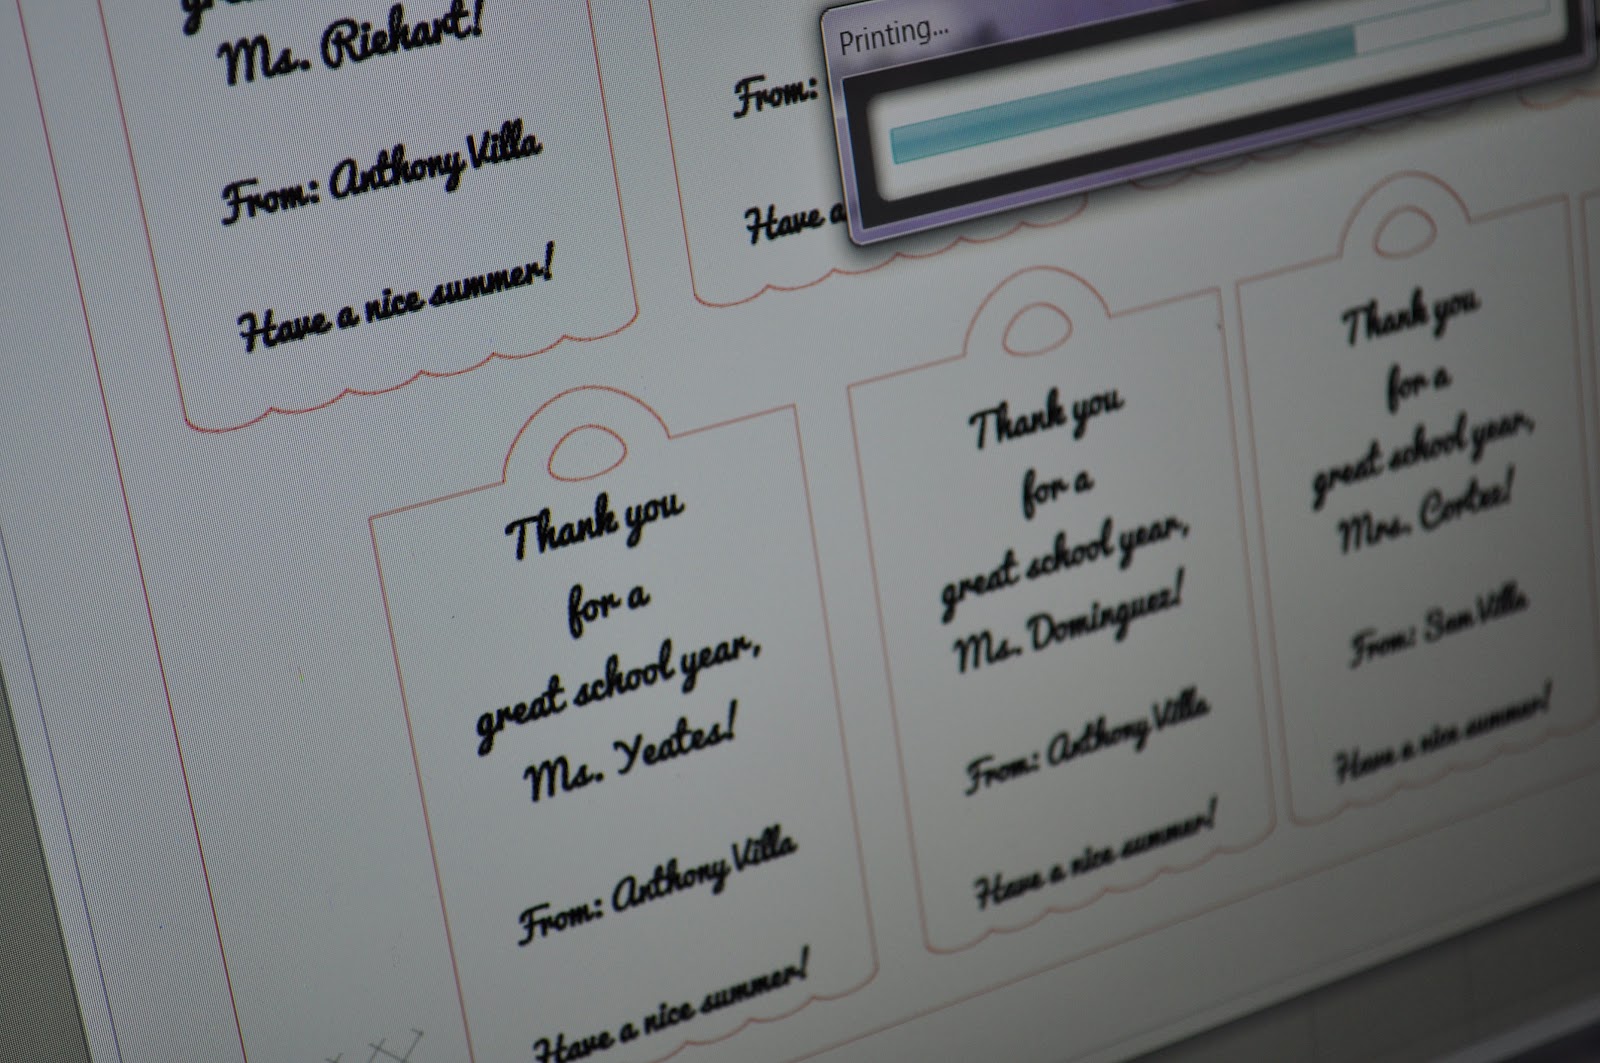
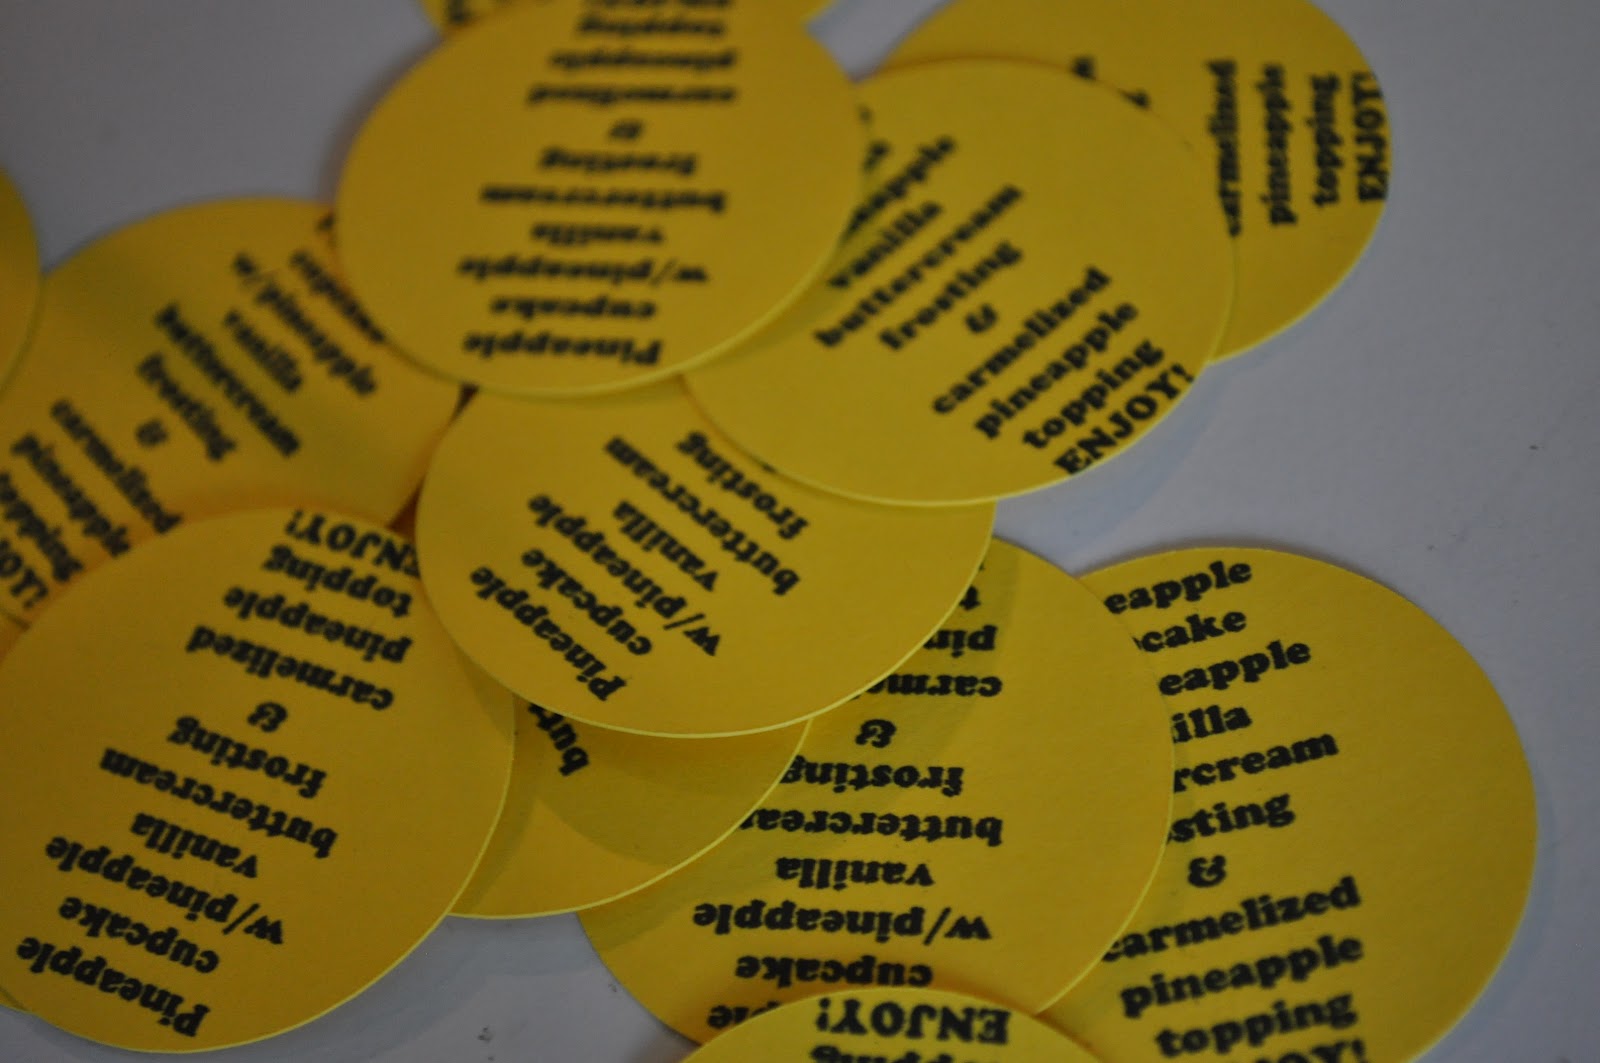
Because I always like to know what I'm being offered, I made labels with my wonderful silhouette.... (My next tutorial will be how to do this. I'm hoping that I can convince other people to get the silhouette.)


Design..

Print...

Load silhouette & cut...
sprayed them w/ spray glue, popped them onto the bottom.

The kiddos helped get them into the bags..
made tags. design, print, cut... again

fabric ribbon.. It's just prettier..

Tie
Ready to go!


YAY! Let the summer fun begin!


shen


5/24/12

Surprise Party Mission Complete!


Well, here I am almost a week since the big bash, and I feel like I'm still recovering. Needless to say, the months and months of planning was well worth it. My lil girl was surprised! She did not want to have a quinceaƱera (sweet 15 in Latin American culture) an occasion that marks the start of womanhood. So, what do we do? We plan a surprise party to mark the special occasion and finally get those friends of her over to the house. 
Which, by the way, ended up being a great bunch of kids! It was great watching them come in as suave and sophisticated serious teens  who sat down properly to running around like crazy all over the house by the end of the day. I totally love having a lot of kiddos in the house.  
The theme was rainbow mustaches. Just trust me, if you knew my kid, this is totally up her alley. She loves bright crazy colors, not just objects but on her self too! She's had red, orange and green hair so far this year, and is currently working on bright pink by the beginning of the summer. And..well.. mustaches? It's a fun thing of hers too. She has quite the collection of mustache shirts, always adding new mustache items to her favorites on etsy. If you follow my blog she even used it for her vice president student government campaign giveaway... CLICK HERE TO SEE THAT ENTRY


 A few months of "working at work" during weekends, and hiding things here and there.
We managed to pull of our big surprise.
Here are just a few pics of the fun.... I'm hoping to make a few tutorials that will reflect back on this fun event, but for now here are pictures. 
If you want to see all the pics go to my flickr set


Invitations were handmade scratchers.


Lisa from Visions of Sugar designed this character just for Sam's special day. 


Closer look at the scratchers


Goody bags
Goody Bags included a menagerie of rainbow items. Full pack of skittles, pack of furry mustaches, a rainbow sparkle notebook, rainbow pencil, and changeable color pencil, rainbow crayon, a nose sharpener, "chinese" paper yoyo, and Sam's very own designed character from a Visions of Sugar's artist Lisa Pheonix.

I made the rainbow mustache wreath too. Why not right? 

Rice crispie cake batter recipe 
which I found here

Mini individual pinatas for everyone along with many handmade decorations 

Random gifts were given to guest who for example: had a clip in their hair, knew Sam's favorite color,  first to touch their nose w/ their tongue.  Prizes were items like a ceramic doggy bank, a shower cap, reusable grocery bags, giant gummy bears. 

The sign for the ice cream bar

Eco friendly utensils stamped with various phrases.
 "all you need is love,  Happy Birthday, Look out stomach, I <3 Ice cream.." 
Table set up had rainbow jello, rainbow popcorn, colorful 7 layer dip in individual cups, lots of candy, and an area to decorate your own popcorn box. 


I did a test run a couple weeks back just to make sure I knew what I was doing.
They came out great this time around too! 

My BFF Linda made the mustache birthday cake. 

Linda & Billy also provided the fun photobooth for the night! Everyone loved that! Even grandma got in on the fun. 


Apparently, Ginger was a prop in many of the photos guest took. 


Surprise! It's a rainbow inside! 

The kiddos threw confetti and popped party poppers everywhere! 
Ms Ginger rooting around for anything she can find.

Giant mustache on my  paper mache rainbow lanterns
All over the house

When the party was over even the couch was sad. 


At the end of the night,  we left the mess of confetti for the next day, and she played 20 questions (followed up by  a bazillion more questions) It was cute watching her realize, I wasn't really working all those weekends. 


We made a keepsake for her room. With confetti & streamers included. 


There was so much candy at the party, guests (ADULTS!) told me that they felt like they had a hangover the next day. Apparently their kiddos had more self control! Grandma complained about there being too much sweets, and the school friends followed up with how they passed out when they got home. Needless to say, I think we accomplished the ultimate kiddo party with cake, ice cream, candy, pizza, and crazy fun... What's next? Let's not go there just yet... 


The hubby suggested we keep the deco up til her actual birthday.
We had no arguments there. The house looks so fun right now! YAY! 


shen


shen

4/17/12

Ruffled suspenders oh my!

I'll update this tonight with a picture of me wearing them, but I've had this entry as a draft for way too long, and I'm way overdue for a new blog entry so here it goes. 
Thanks iheartjennysart for the inspiration. I love this! 


Like many fellow crafters, I (too) have a long “TO DO” list. It seems like for every one project I get done, 10 more are added on a continuous basis.  I can blame my pinterest addiction a little bit for that too. But it is nice to have a reason to get some of those things crossed off the list.
One of my to-dos was this awesome ruffled suspender project from http://iheartjennysart.com/2010/12/ruffle-suspenders/. It was featured on craft.com a while back, and I thought it was so cute, that I had to add this to my list.
Well, just last month, at work, we had a grand opening of our new building. This was the one where we had to look presentable to the other parts of the community, board members, etc., etc… There was a dress code: black pants with a nice white shirt, and well, the suspenders instantly came to mind.

So here are some pictures... 


 I have to admit I was pretty intimidated at first. I have never made ruffles before. I have a “ruffle foot” for my sewing machine, and I play with it every now & then when I’m feel adventurous, but I’ve never made ruffles with elastic before. It turned out pretty well.


So basically you do small sections at a time. Stretch out the elastic until it stops stretching, then sew the ribbon over it. When you’re done with that “stretched out” section, you can let go, and move on to the next section. Pretty simple.. But pretty intimidating. If you haven’t done it before. You should practice on  something you don’t mind ruining. Satin ribbon, in my own opinion, is very unforgiving, and even after you take your mistakes out and try again, you may see the “track” of the previous mistake.. Something, my OCDness cannot handle. 
Here is the finish project.  
I kept my ipad close by, because I had to keep referring back to the tutorial.  One of the reasons I wanted the ipad in the first place, for ease of watching videos for cooking & crafting.  


So I wore this to our Grand Opening, and got lots of compliments. I’d love another excuse to wear them again. I haven’t found on yet.

Thanks for looking! Let me know if you need any help with this or if you'd like to commission me for your own pair! 

girlyspazms@gmail.com


shen

2/7/12

Kimchi Salad Recipe


 Did you know that there are health benefits to kimchi? Well there are! A little bit of a microbiology lesson today? Kimchi has probiotics that help your own body’s  little microorganisms to digest. Don’t believe me, then go google it for more info.  Kimchi! It's good stuff! 


Aside from crafting up a storm, I also love to cook... Call me crazy but when I cook, I like to pretend I have my very own cooking show, and I narrate what I am doing in my head. I should take that back... I do have my own cooking show, with an audience of one. 


So I know a few of you have asked for my kimchi salad recipe back in December, and I’ve finally put it together.
I’m sorry it took so long. It’s pretty simple, so I hope that you try it. Let me know how yours turns out & if you’ve tweaked your salad to your taste, share what you’ve done.

I have no specific measurements, because I don’t stand there and measure the portions. Like most of my cooking endeavors, I kind of eye-ball it to see how much I will need depending on how many people are eating & season to taste.
So you can use this combo to make a one person salad or a 20 person salad if you so choose.

What you’ll need:


CHICKEN!

You can get fancy with your chicken, or you can even switch it to pork if you’d like. I don’t really recommend beef unless maybe it was medium rare. Teriyaki chicken is my favorite.  I prefer my chicken in my salad cold, but you can do what ever you like.
This is completely to your taste and liking. If you like more of something, by all means, put more of it.If you’re lazy, you can even get a ready-to-go rotisserie chicken from the market.

Shred the chicken
Then shred some cabbage & make a bed of it on your serving plate.
Then place the following ingredients on top.

CHOPPED GREEN ONIONS
KIMCHI (Your brand)
PICKLED BAMBOO SHOOTS (your brand)  (drained unless you like all that oil in there. I’m not judging)
Then as dressing a big dollop of KEWPIE MAYO (Japanese mayonnaise)
SRIRACHA to taste.

Tadah!

Now present your salad when it’s in a cute organized plate, and when everyone has sat down you mix, toss & serve.

That’s it! See I told you it was pretty simple. ;D 


shen