Hi there! Welcome to my GIRLY SPAZMS. I am most productive when I'm about to lose it. Easily distracted and daydreaming, I fight my way through the day just so I have moments like these. Please visit often as I am updating and adding new things when time allows . Feel free to drop me a line. Say hi, leave comments, suggestions, feedback & your experiences . Thanks for visiting my crafty blog & be sure to check out my etsy shop too.

2/15/13

Valentines Prep..


Instead of dwelling on why I haven't blogged since < insert ridiculous amount of time here > , let's just get on to this week. I was recently in a car accident in January so the doctor has put me on limited work duties, giving me limited time at work, and rest at home. When I'm feeling up to it I craft and do housework. 
This week was v-day prepping. 
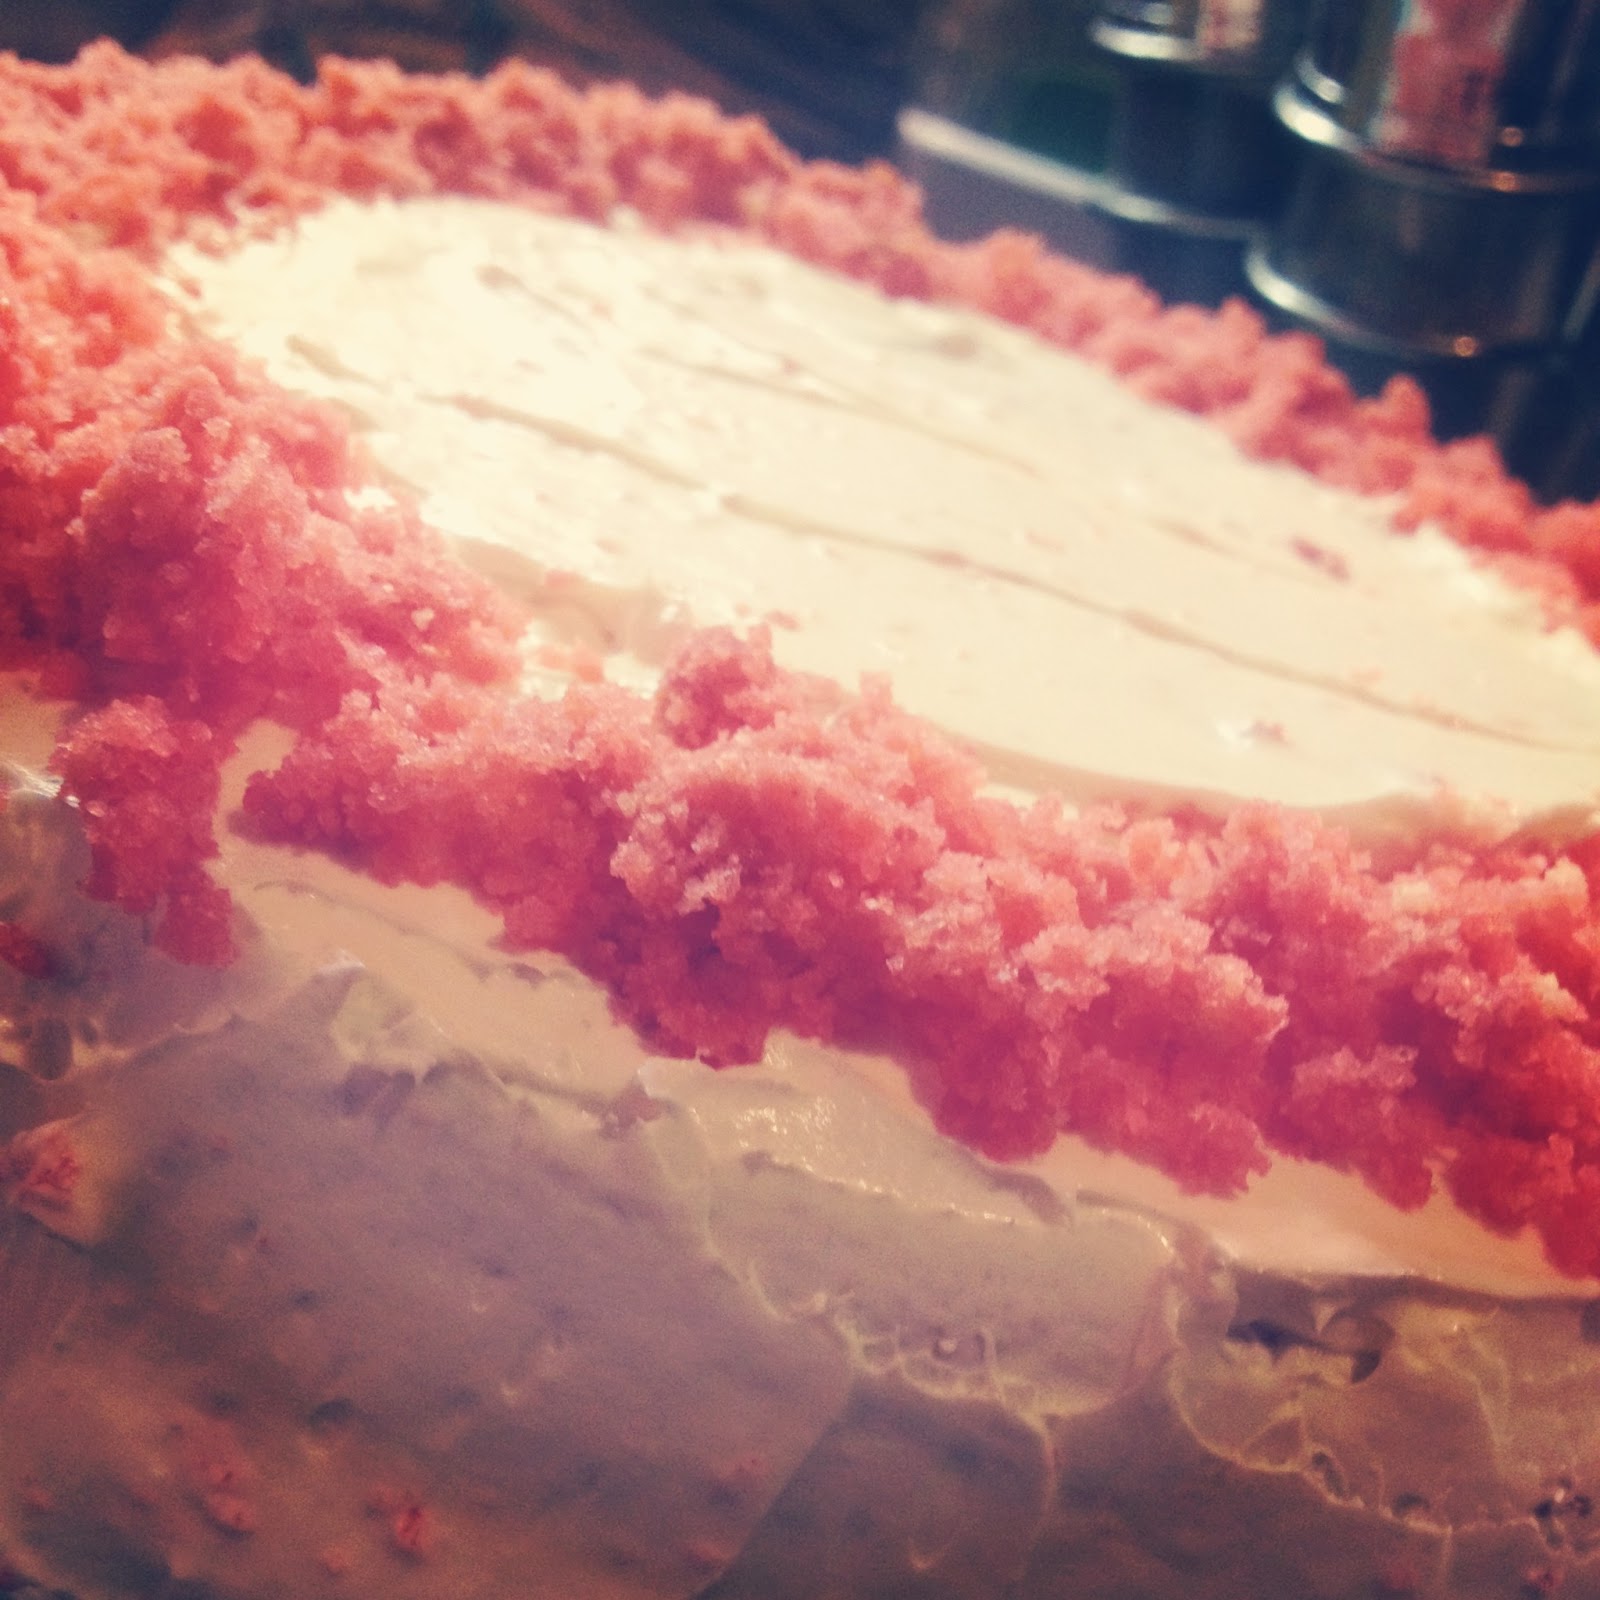
I managed to make a 2 layer guava cake! yay! 


Before Gel topping.. 

With gel topping..
Inside!
We had this cake to celebrate the Lunar (Chinese New Year)..
I made some shaker cards for my favorite kiddos...


Close up of Judy's.. 

I made mini shaker valentine's cards for a few of my co-workers...


And helped the kiddos with their valentine's goodies.
Anthony gave out what we will call "knock you silly" brownies for his friends... 
FOR DIRECTIONS on brownies click here>>> http://girlyspazms.blogspot.com/2013/02/knock-you-crazy.html


Brownies all wrapped up and ready to go.. 
Sami gave out friendship bracelets... 


These were a simple design print & cut on the silhouette. 


Valentine's Day turned out to be a pretty awesome day. The hubs and I changed it up, and instead of our usual Napa trip, we went hiking up to Mission Peak in beautiful Fremont California. We had a cute little picnic at the top, and headed down. Made it home, showered, and went out for a great lobster, shrimp & salmon dinner. It was a really nice time. 


The view from Mission Peak..
We made it despite the horrible 50+ mph winds working against us. 


Happy Valentine's Day everyone!
 Hope you all had a great one too, and have an amazing Presidents' Day Weekend!
I'm hoping that I'll get my paint this week so I can start painting & get my craft room finished finally.  When it's all ready, I plan on doing a youtube craft room tour. 
:::keeping fingers crossed::: 


shen

10/7/12

Simple. Quick. How to. Stamp on washi!!!

This was actually done in less than five minutes before I headed to the gym for my morning workout.

Typing this out is probably taking a lot more effort, but the results were so awesome I had to share...

Things you'll need:

  • Your washi tape
  • Acetate better known as transparency sheets (great deals on eBay btw)
  • Your stamp
  • Your ink
The set up
  1. Lay out your tape strips either vertical or horizontal, whatever you prefer on your transparency. (I tried reg paper but it tore up the paper pretty good)
  2. Ink your stamp
  3. Press firmly but not too much or you'll smear your design.
  4. Hold down sheet of transparency as you lift stamp directly up & off.
  5. Let ink dry
  6. When dry move strips of washi to clean transparency.
Silver spiderwebs on plain back washi

Sit back. Admire & use...


10/2/12

Cardboard letter adventures...


I'm back to revamping my craft room again.
With the never ending addition of new supplies, there's a constant need for storage space too. I'm preparing to take on my first sanding & repainting of this awesome piece of antique furniture I came across at a garage sale over the summer. It's totally cute & adorable. Just the prefect thing I've been looking for. I need to go to Restoration Hardware to get new pieces for it, and I also need to get some power tools so that I can do this job right the first time.
I've read a ton of "how to"-s on-line, and as much as I think I'm ready, I'm nervous as all hell.
So in the meantime while I muster up the courage to finally take on this project, I continue to organize, and decorate around the idea of having this finished piece one day in place. 


I wanted something crafty as wall decor... So..after much deliberation, and a few inspiration from facebook friends & pinterest pins.

This idea was born. At first, I was going to buy the 8 inch letters from Hobby Lobby. Which by the way, finally opened up locally in Morgan Hill, (http://www.yelp.com/biz/hobby-lobby-morgan-hill)  that turned out to be a fun adventure of strong margaritas and craft shopping. 
Instead, I decided to tackle it on, and make my own... 
I had a few too many post office boxes laying around the house due to a post office glitch that sent me a huge pile of supplies.


Tony opened the door & saw this staring back at him. Oops! 
So first things first, my trusty silhouette did the easy part & by Sunday morning at 6am, my letters were cut... 

Laid it across my kitchen floor.

Ginger: Didn't mind me, just passing through.
Me: GINGER! Move it! 

Maylin: Oh mom's doing something, let me get in the way.
Me: You too? Ugh. 
Maylin: So, mom... I was thinking... Oh, you're busy.
Me: MOVE IT. 

Maylin: Oh, there's something here... 


Maylin: Move?..but.. I have to rest.. 

Here's a C! 
All I did was trace my letters on to cardboard. (twice)
Cut them out.
Cut 2 Inch strips & taped them together to make them 3D.


Finished the first... Now he's waiting for his friends to join...
I'm still planning a couple more steps before they are officially done. 
There is still the decoupage with newspaper step. 
Then spray painting with white.
Then I'm going to cover them in my beautiful washi tapes.
I'm totally crossing my fingers & hoping that this turns out the way I am envisioning in my head. 

I'm hoping to have this done & up by mid-October.
Do you think I can do it? 
I'll update soon... 


shen


9/26/12

QUICK Washi tape holder tutorial...

We collected our supplies at Michaels & Lowes …

  • 1-  blank wooden sign (normally used for a decorative wall hanging)
Pick whatever shape & size you prefer,  but make sure it’s a sturdy thick piece because this will be your base to your washi tape holder and you don’t want it toppling over.
  • 1 – 1 inch thick dowel. I’m assuming you’re making a 6 stack one like mine in the picture so with that said, I got a 36” long dowel.
  •  A drill
  • A 1 inch hole saw
  • Wood glue
  • A hack saw
  • Paint if you prefer.
  • Felt (only if you want a  full felt bottom)  OR You could put little self-adhesive rubber/felt circles/ squares to act as feet on the bottom too. This will help protect the surface you place your washi tape display.  
I used a colored stain from Lowes because I wanted the wood grain to show through a lot more than seeing that layer of paint. I wasn’t very happy with the results, so I think if I make another wood project like this, I’ll be buying the other teal colored wood stain or maybe experiment with some food coloring & then seal it with acrylic after.  I’ll be sure to update if I try this out.

We finished this project in one evening. It took me a couple days to finish the painting portion. I put about 3 coats on & then a clear acrylic after. The only reason I did so many coats is just because it wasn't turning out like I was hoping. 


Determine where you would like your poles to go & mark center.
Tony used my actual washi tapes to figure out  a "nice" spacing to avoid an overcrowding look.
Drill down to 1/2 an inch or 3/4. Try not to drill straight through the base.  

Cut the dowel into six  --6 inch segments. 
I got a little impatient & tried out the wood stain while the dowels were drying. 

Use wood glue & place the dowels into the drilled holes.

Paint. Dry. Use.


Unfortunately, I've already ran out of room & have had to resort to a cheapy container from Daiso, however, if you can practice a little more self control unlike me. This holder should suffice. 


But I still have this one & love love love it! 

Let me know if you have any questions.

shen